
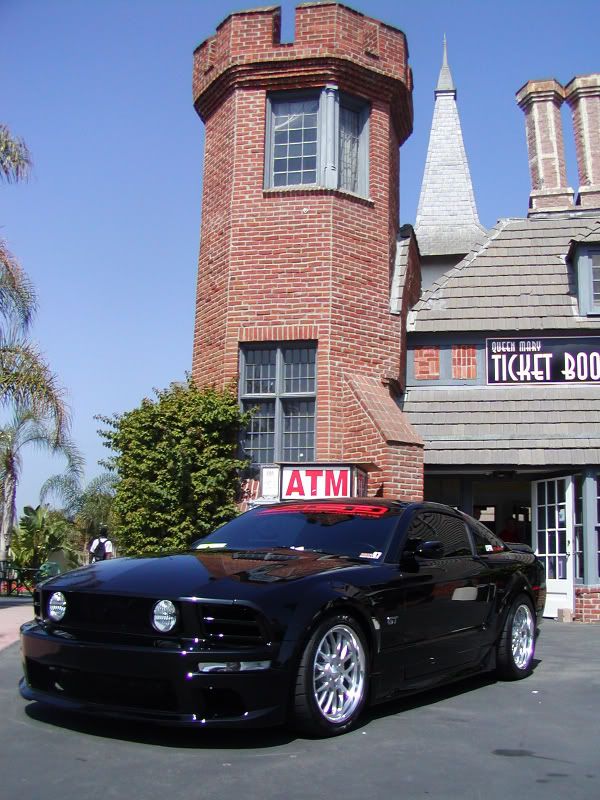
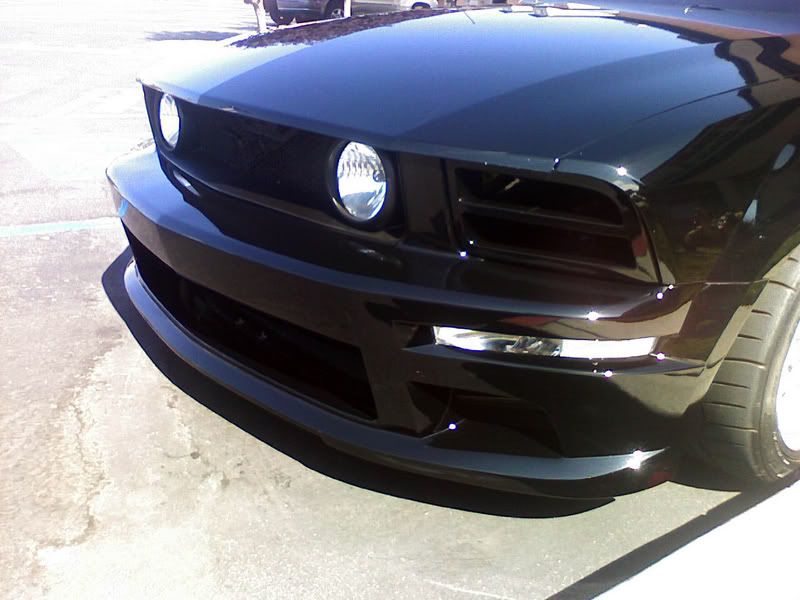
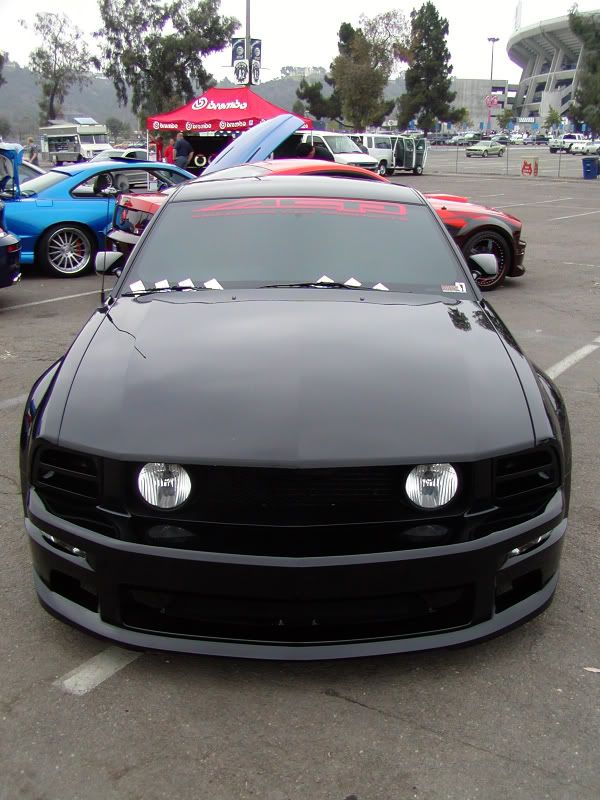
I recently added Agent 47s new High Flow Grill to my car and was very pleased with the added classy and more aggressive look over the stock grill. The changes are subtle at first glance but with the fogs further spaced apart from one another and the grill being more recessed then the OEM one, it ultimately really changes and adds to the overall look of the car. The install is very straight forward and simple as well. Here is a simple write up on the installation:
http://www.auto-focus.us/autoblog/?p=120
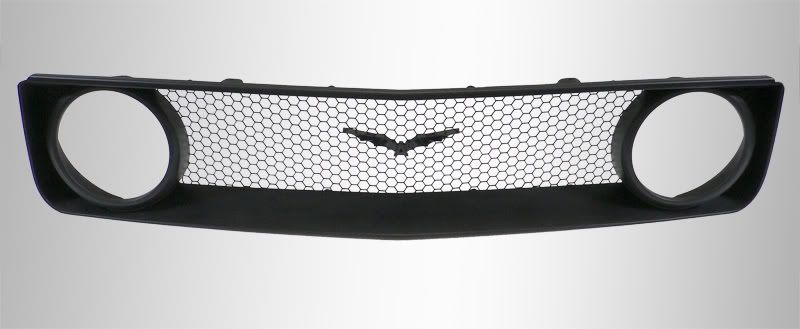
THE GRILL:
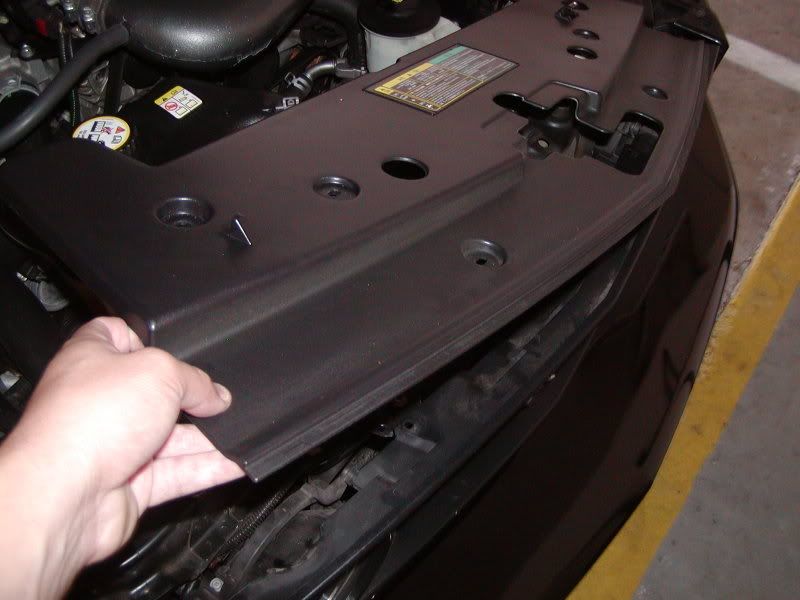
1.Remove the plastic cover that sits above the stock grill. The fasteners are easily removed by using a little leverage with a small flathead screwdriver to pop them up and then lightly removing the rest of the way by hand. They are reusable so make sure to not destroy them by forcing them out.
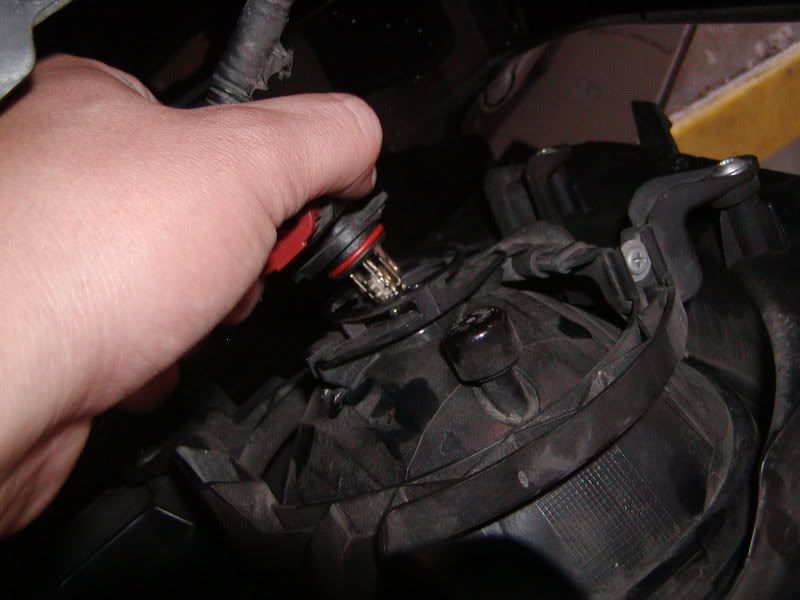
2.Unplug the harnesses from the back of the driving lights.
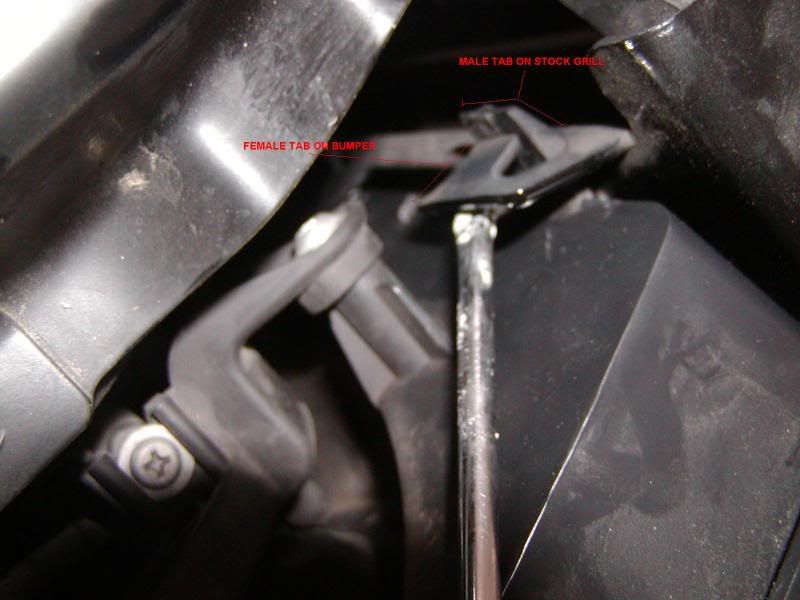
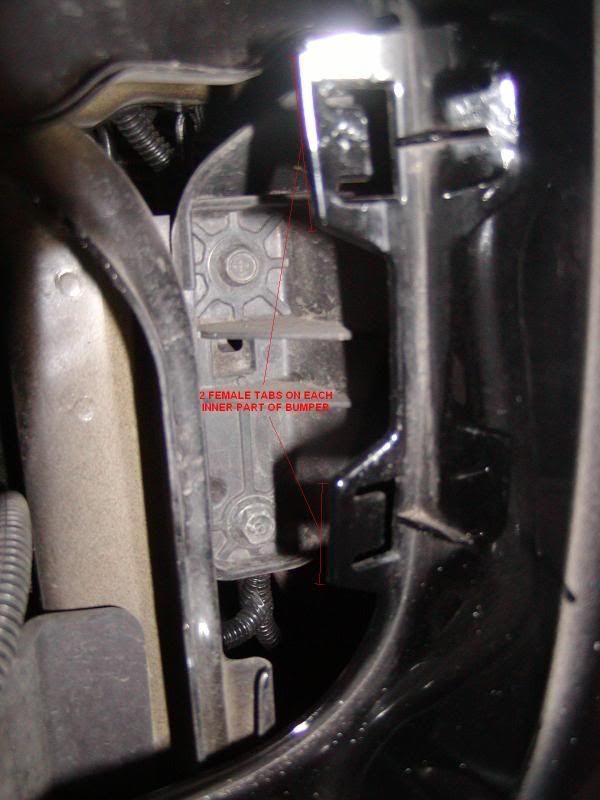
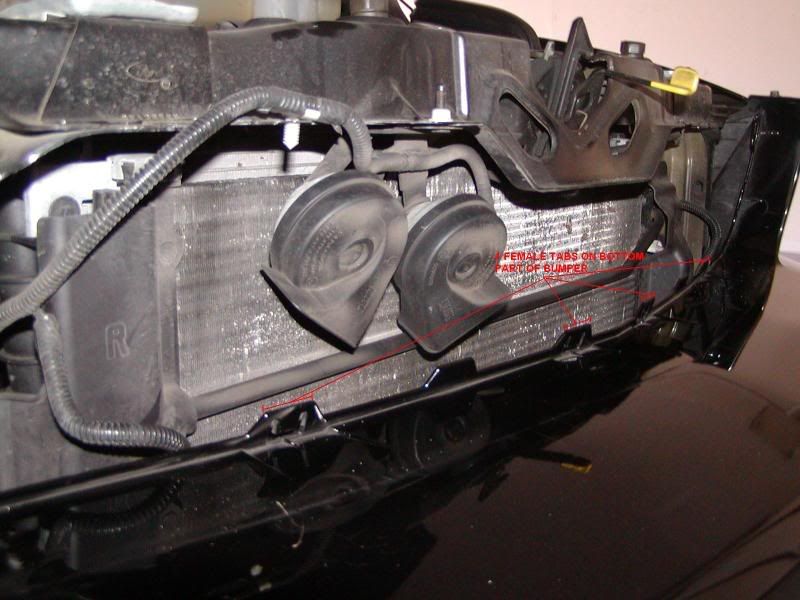
3.Remove the stock upper grill. This will take some finessing. You will need to bend the female tabs on the bumper back away from the grill while pulling the male tabs out. I used a screw driver to assist in this. Also you will want to pop the tabs but not pull on the bumper because you might scratch the bumper. To avoid this you might want to put a clean towel or microfiber on the bumpers edge, or just make sure to carefully remove the grill lifting upwards as you pull it away.
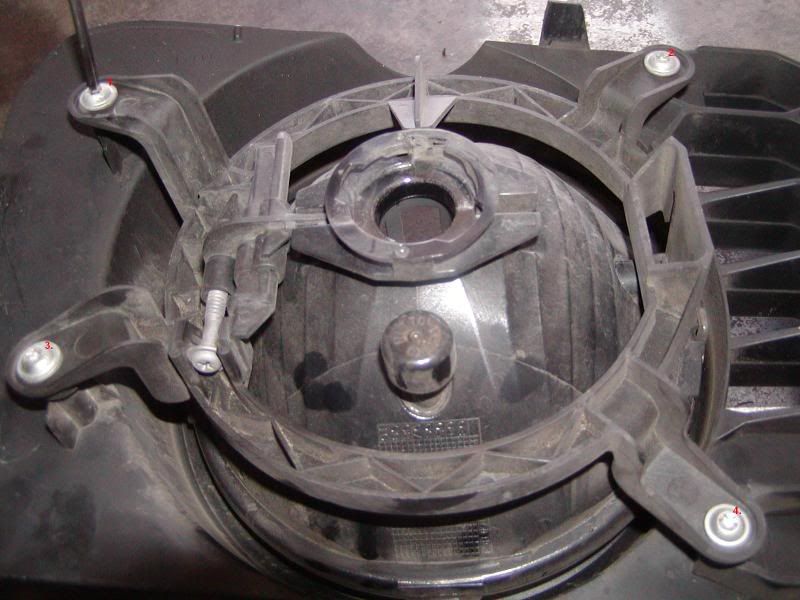
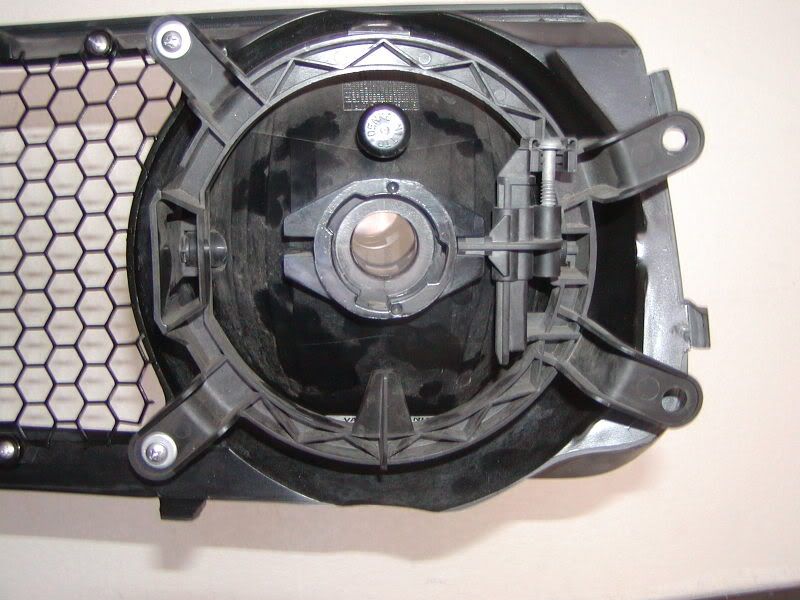
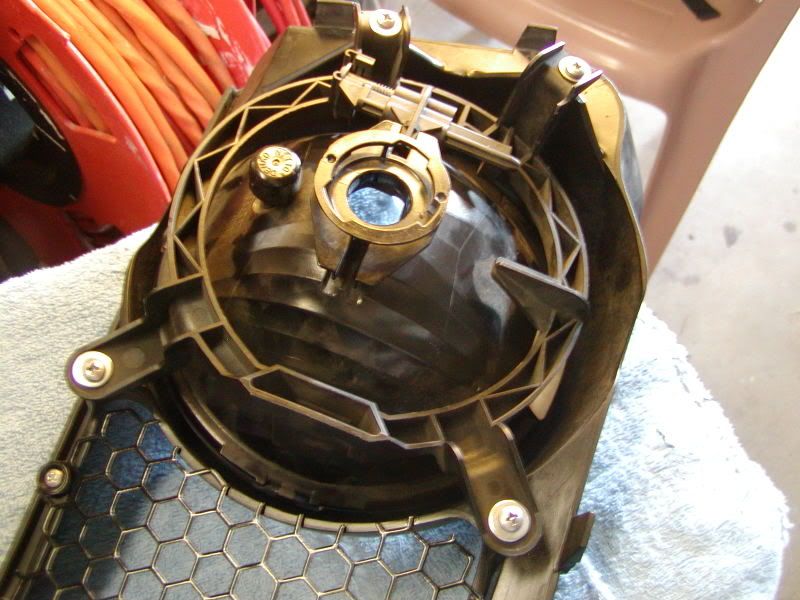
4.Remove the 4 screws that hold the driving lights to the grill.
5.Place the lights on the new A47 grill. The 2 inner mounting tabs will line up with the bosses and the 2 outer ones will overhang and the holes will not line up. These tabs will be modified.
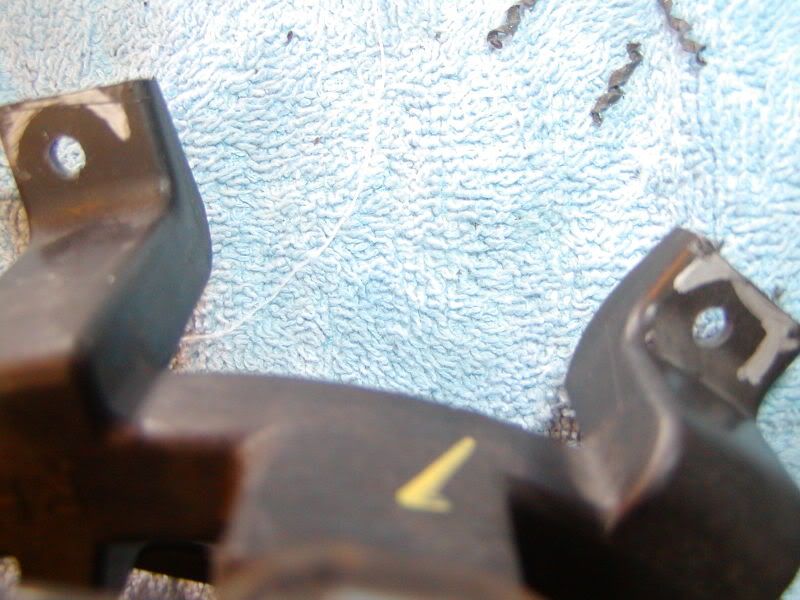
6.Screw down the two mounting tabs that line up to hold the lights in place. Make a mark around the boss on the 2 overlapping tabs; I used a silver Sharpie. Remove the lights from the grill for cutting and I recommend making a vertical line just outside the area you just marked. Make it parallel with the outside edge of the grill and then cut the tabs on that line.
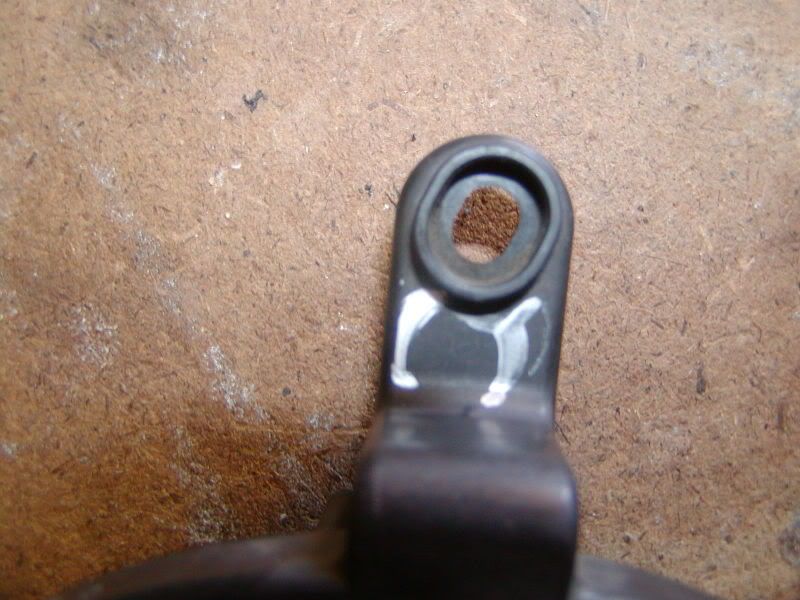
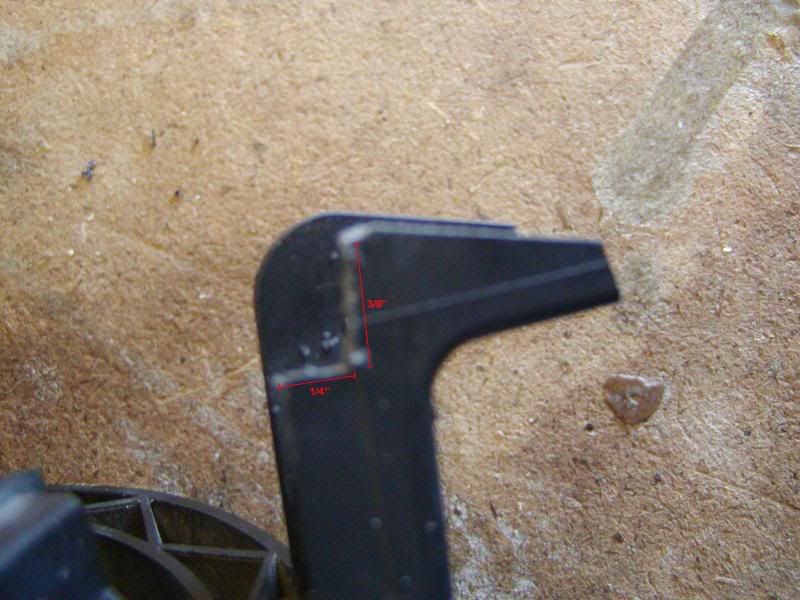
7.If you have marked the tabs accurately you can find the center of the arc you drew and drill a hole there. Use a punch to make an indentation in the plastic so the drill doesn't walk and proceed to drill a 1/4" hole.
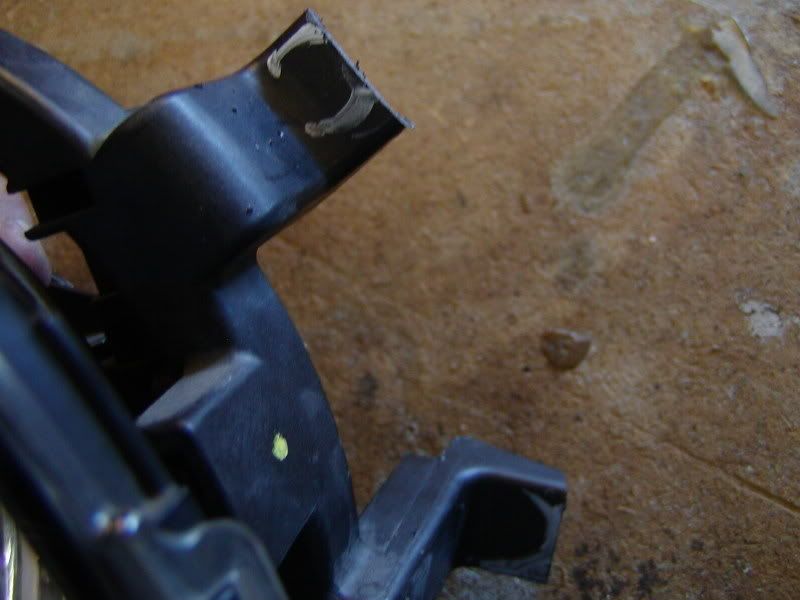
9.You will also need to cut a 1/4"x3/8" notch out of the outside corner of the taller of the two tabs for clearance.
10.Mount the driving lights using the supplied #10 screws and washers. DO NOT USE THE FACTORY SCREWS!
11.Insert the grill into the bumper. This is done by simply pressing it into place, being careful to again not scratch the bumper. Do not use excessive force.
12.Take this time to step back and examine the alignment of the grill to the bumper, you may need to loosen the screws holding the mesh to the grill to allow for the grill to expand and fit flush to the bumper, or you may need to tighten it up a bit. But this is much easier to do now, instead of having to then again remove everything after reassembly to make these adjustments.
13.Now with everything fitting perfectly, plug the electrical harnesses back into the lights and remount the plastic cover above the lights.
**The BAT emblem is optional and can be removed if youd prefer**
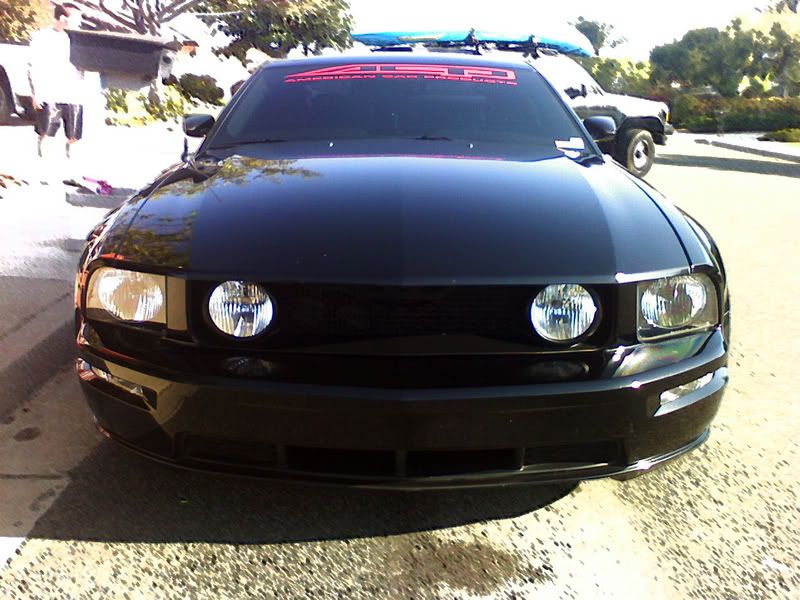
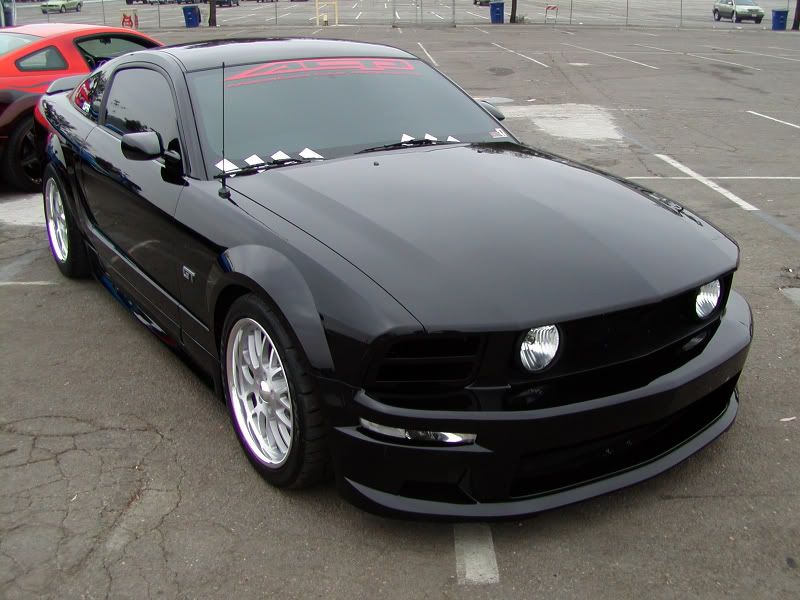
THE FINISHED PRODUCT!
Results 1 to 6 of 6
-
08-30-07, 04:11 PM #1Senior Member

- Join Date
- Dec 2006
- Location
- San Diego
- Posts
- 104
Agent 47s High Flow Grill Install
-
08-30-07, 06:27 PM #2Senior Member

- Join Date
- Aug 2007
- Location
- QC/Gilbert
- Posts
- 1,406

Looks really nice. Nice write up too.....

-
09-02-07, 11:17 AM #3Super Moderator

- Join Date
- Jul 2006
- Location
- Mesa, Az
- Posts
- 4,444

Very cool, I really like the mirrors too!!!!
"The choices we make, dictates the lives we lead"

-
09-02-07, 11:36 AM #4Senior Member

- Join Date
- Sep 2006
- Location
- Glendale
- Posts
- 629
looks great! good write up!
-
09-15-07, 07:53 AM #5Member

- Join Date
- Sep 2007
- Location
- Phoenix
- Posts
- 84
Thats a sexy beast.
2006 Mustang GT Blk/Blk
5-speed Mods..I need more
-
09-15-07, 02:13 PM #6Senior Member

- Join Date
- Apr 2006
- Location
- North Phoenix
- Posts
- 4,186
damn, looks very good!!!


 Reply With Quote
